This Quilled Hanukkah Menorah is a great craft to celebrate the holiday season. With just a few simple supplies and steps, you and your child can create your own Hanukkah holiday decorations in no time at all.
Related: What is Hanukkah and Why is it Celebrate?
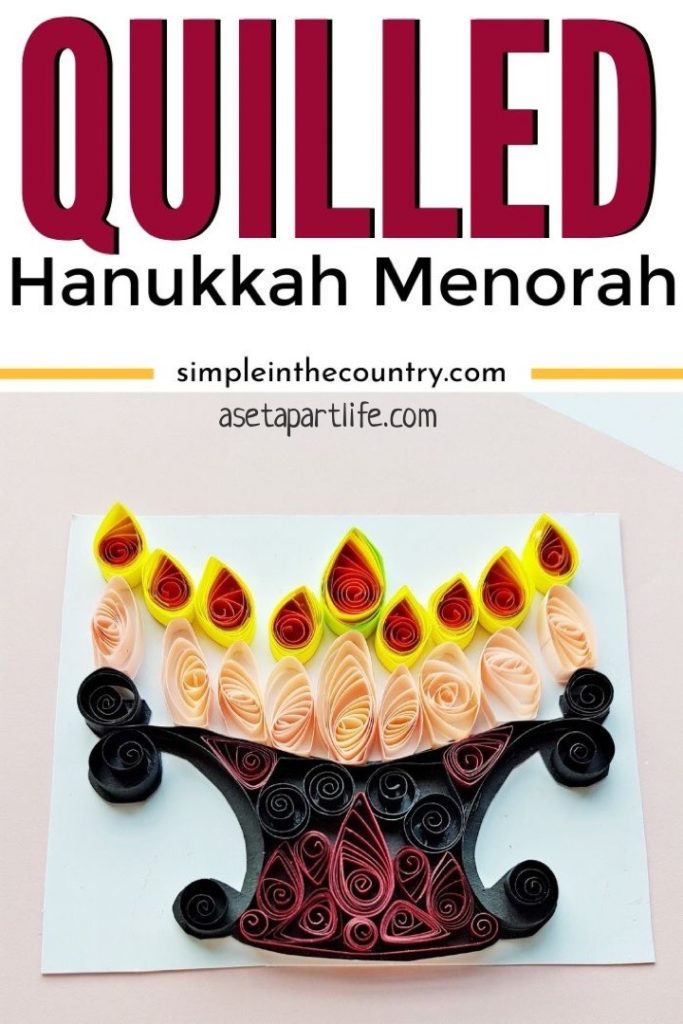
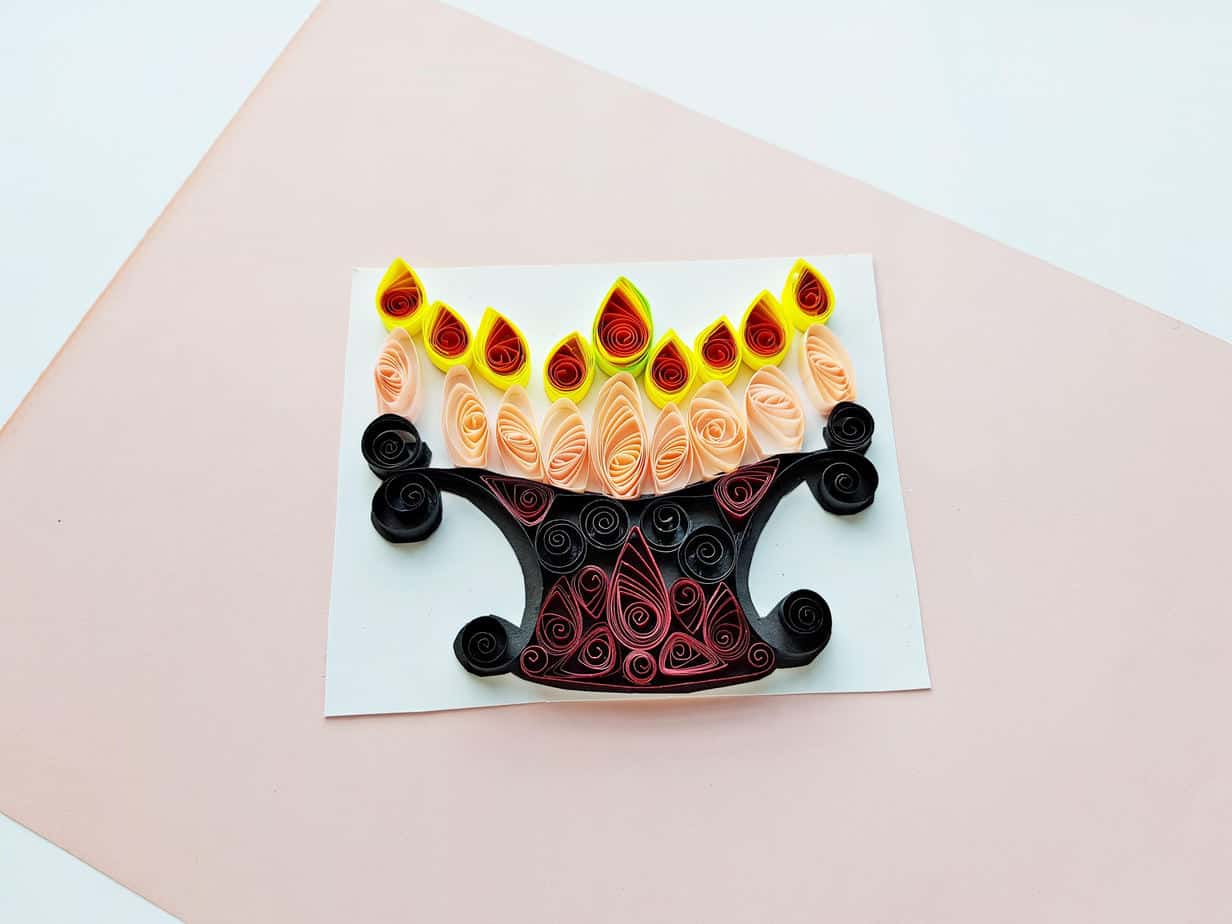
Quilled Hanukkah Menorah
Finding great holiday crafts doesn’t have to be difficult. What I love about this Quilled Hanukkah Menorah is that it’s really simple to follow the directions and create. Plus, the outcome and the finished product is really beautiful to look at!
Sitting around the table and crafting is a fun way to make memories together at the same time that you’re creating fun decorations as well.
If you’re looking for a simple and fun Hanukkah craft, don’t look any further than this!
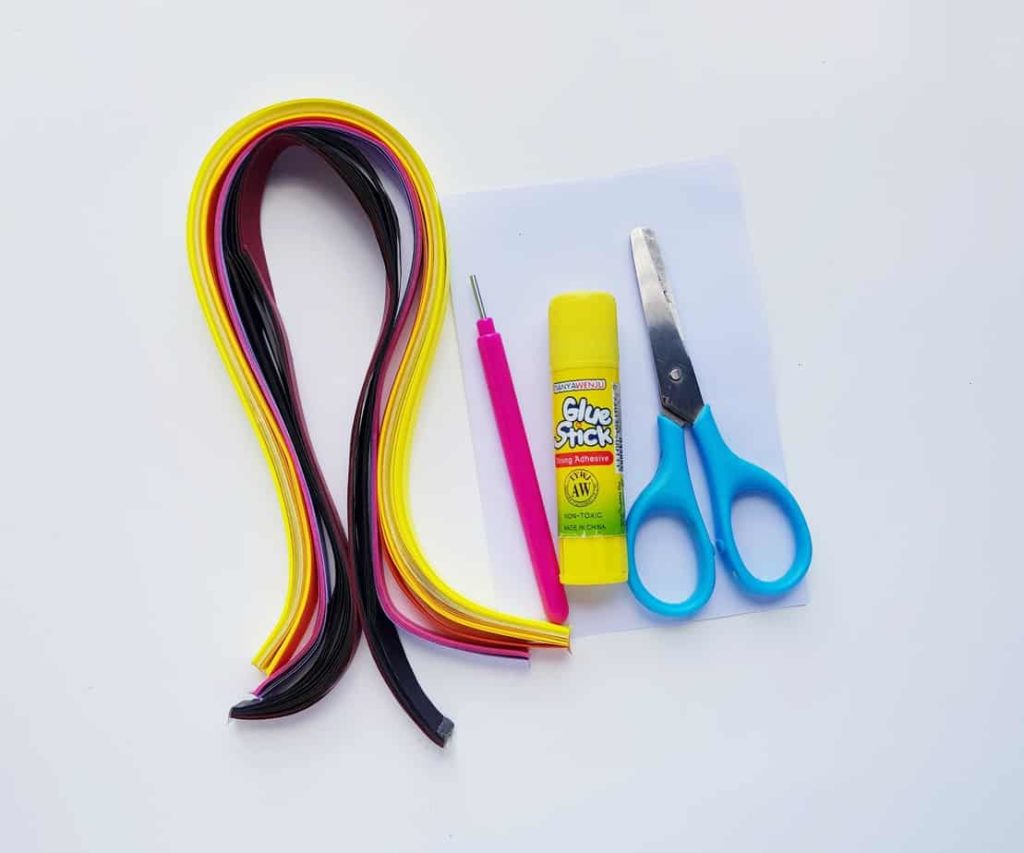
Supplies needed for this Quilled Hanukkah Menorah
- Paper quilling strips
- Colored craft paper
- Pencil
- Scissors
- Craft glue
How to make this Hanukkah craft:
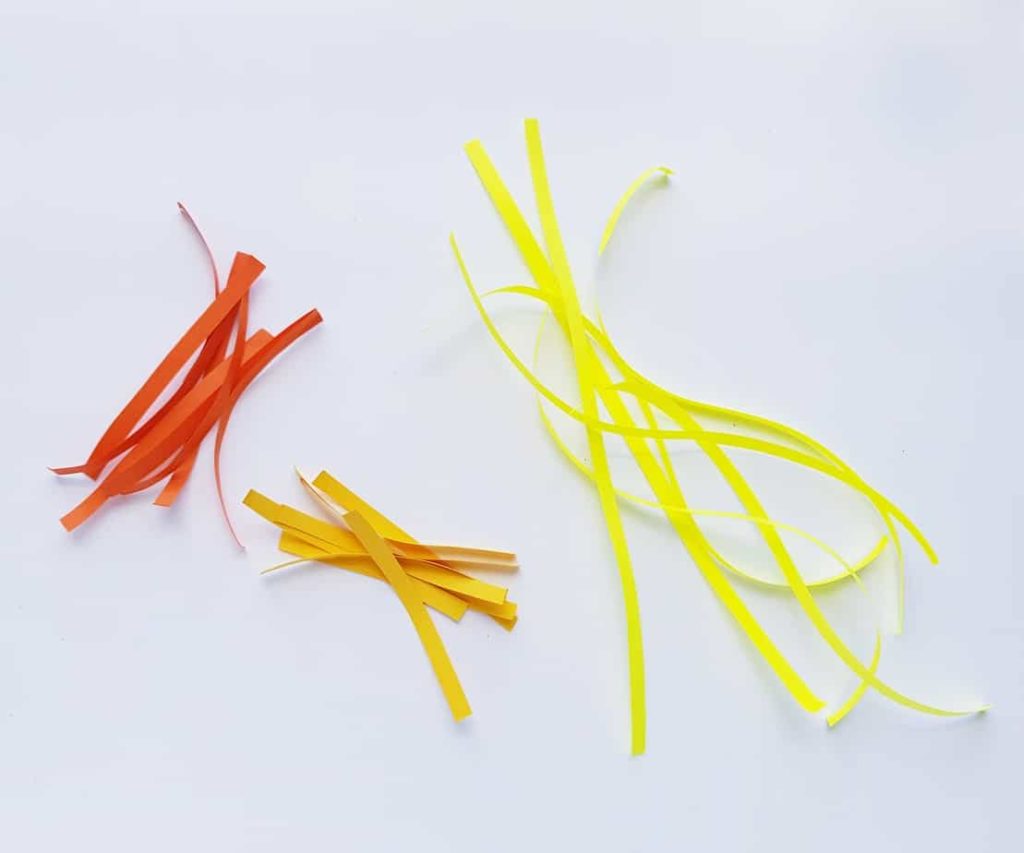
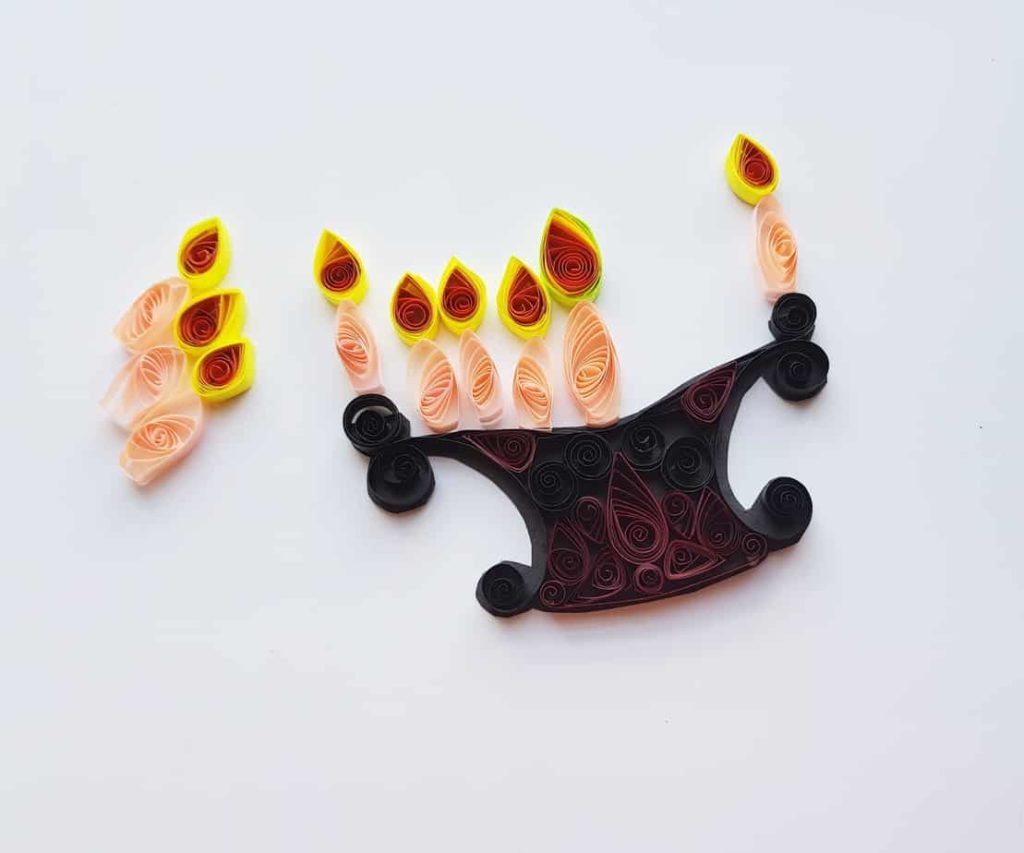
Step 1: Take the orange and yellow quilling strips and prepare them to look like flames. The small strips should be orange and the longer pieces should be yellow.
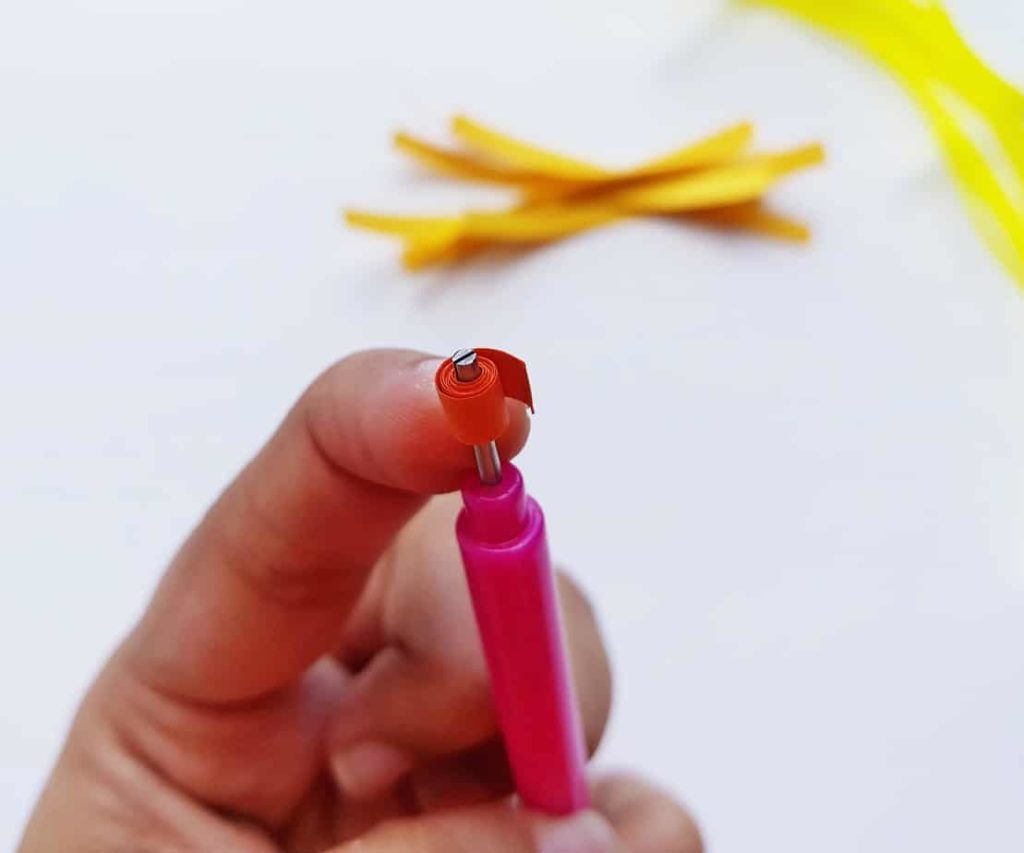
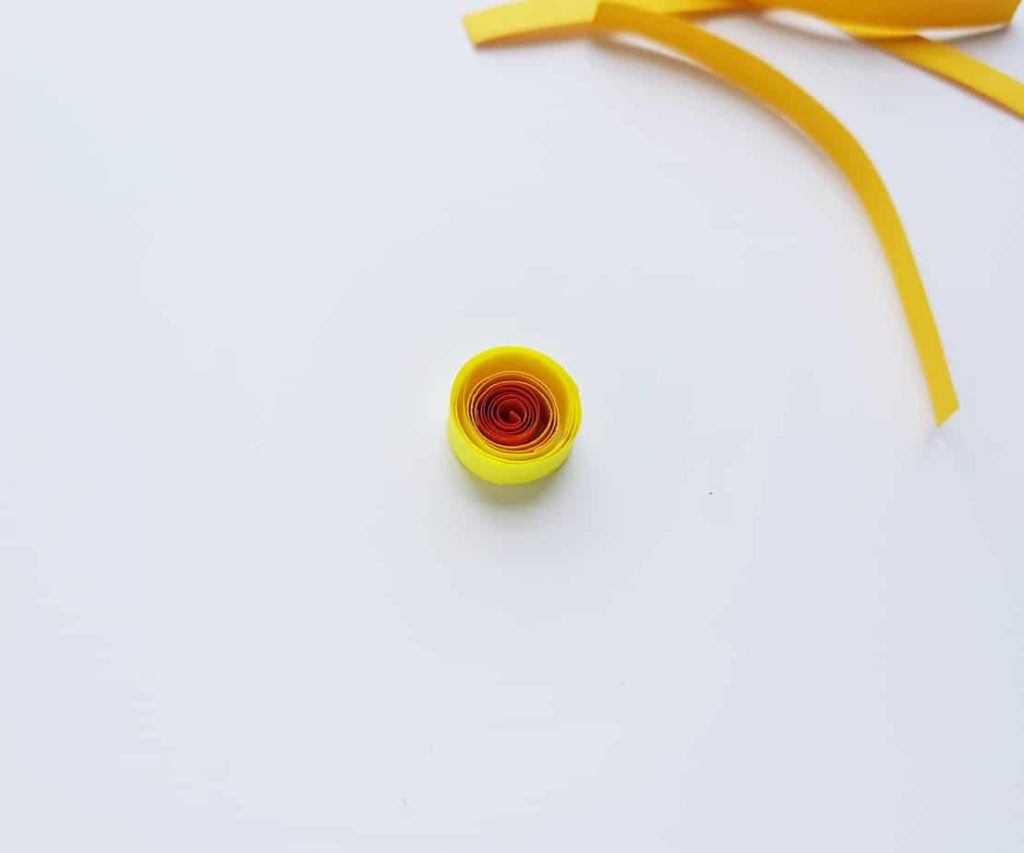
Step 2: Take an orange strip and tightly coil it to a 6 cm strip. Hold the end tightly without releasing the coil from the quilling tool.
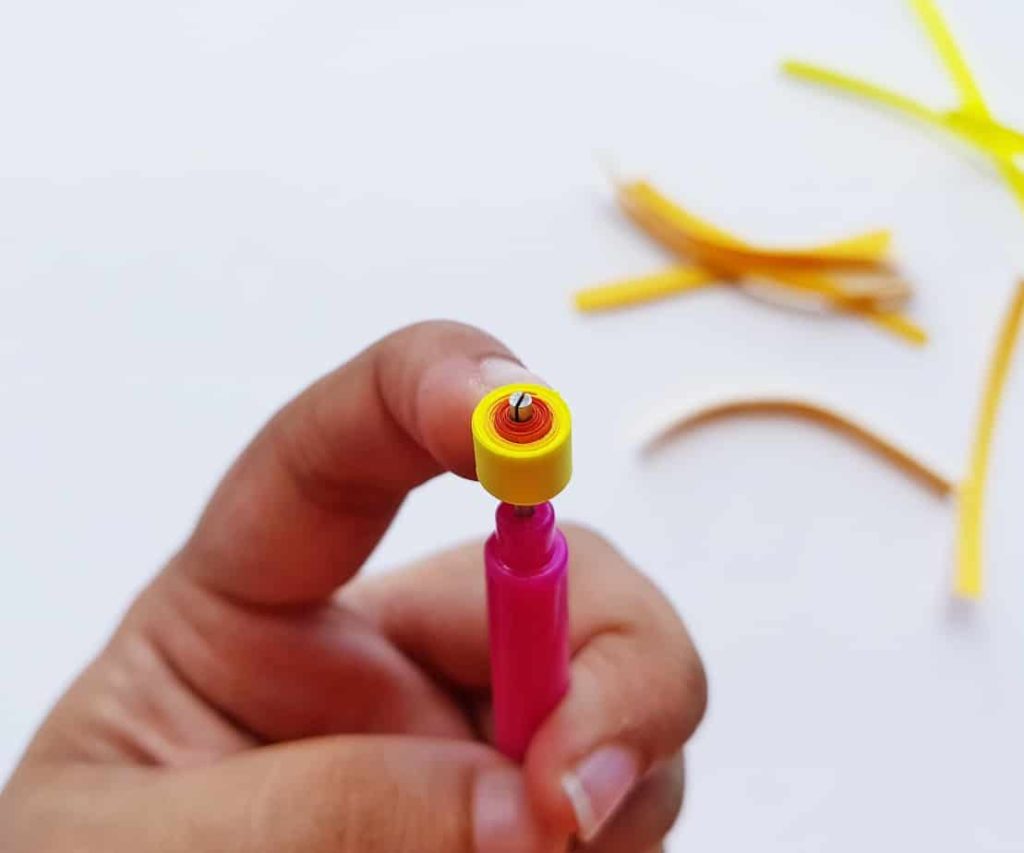
Step 3: Next, take a 12 cm long yellow strip and coil it around the orange coiled strip tightly.
Step 4: Take the coils out of the quilling took very carefully and let them loosen up a tad bit.
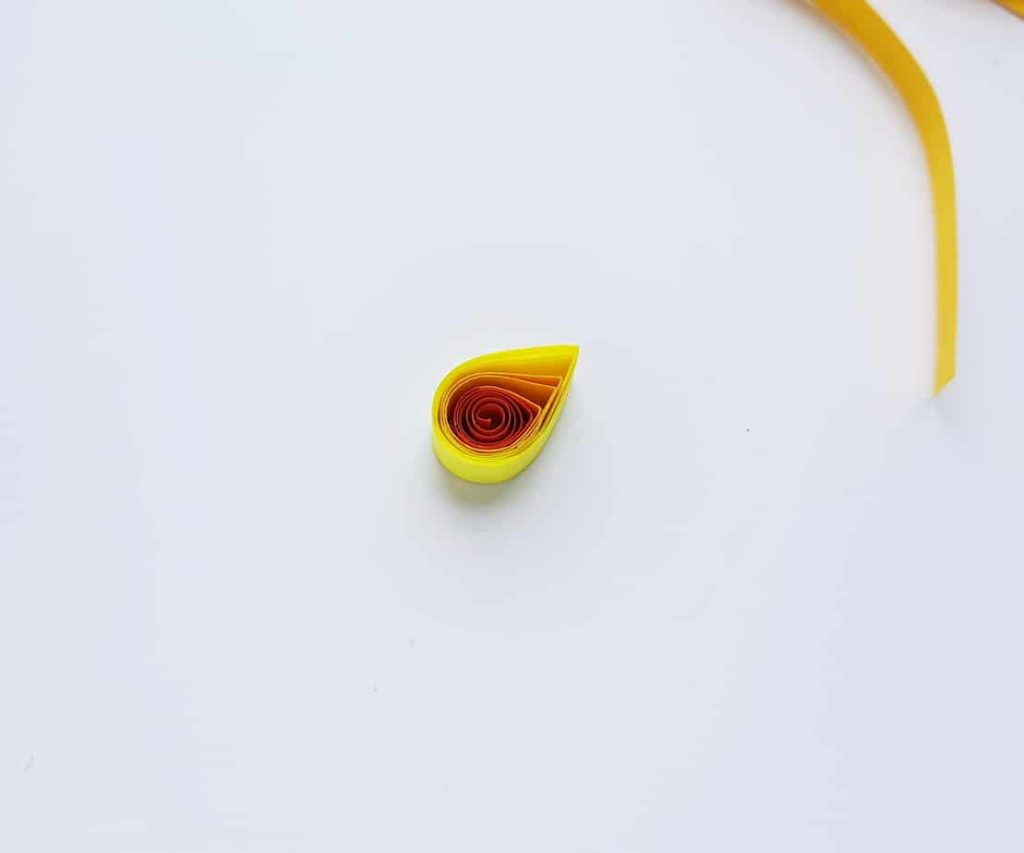
Step 5: Next, press any side of the loosened coil to transform it into a teardrop shape. What you’ve just made is the quilled flame part of the craft.
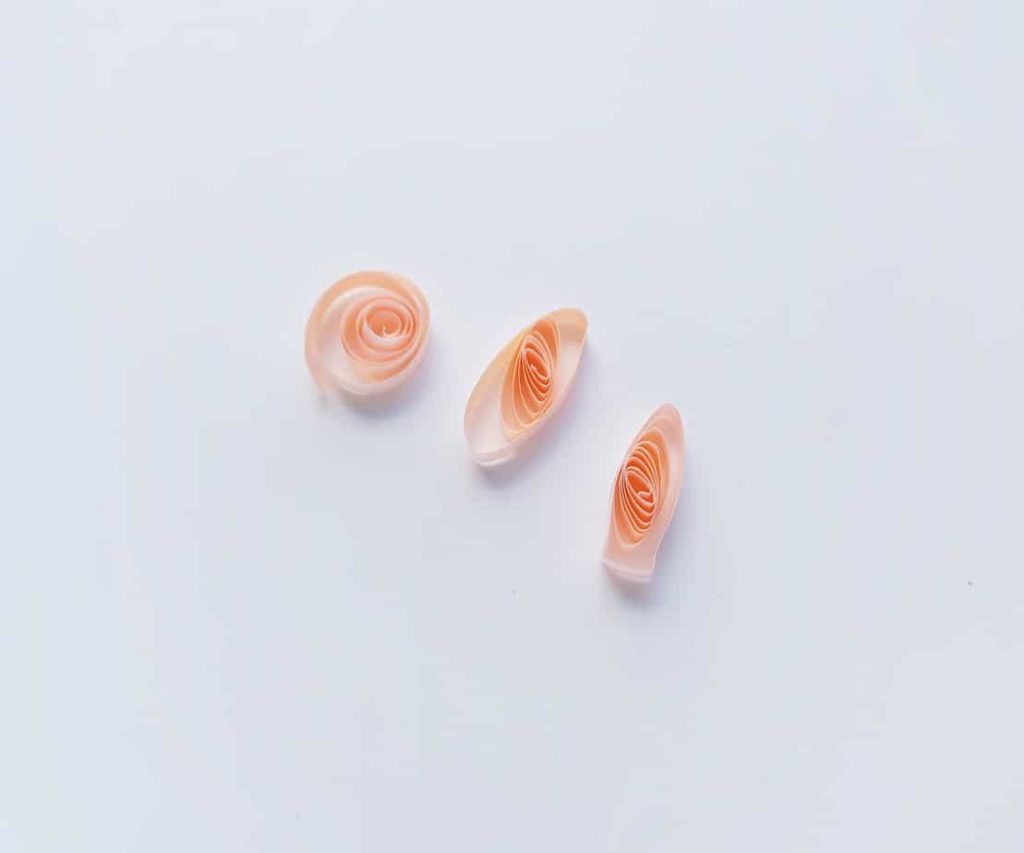
Step 6: Once done, take a different colored 10 cm stip to start creating the candles. Take and create a loose coil and press it from 2 opposite sides. Then, press any one of the thin ends on a plain surface to flatten it. You’ve just created the quilled candle.
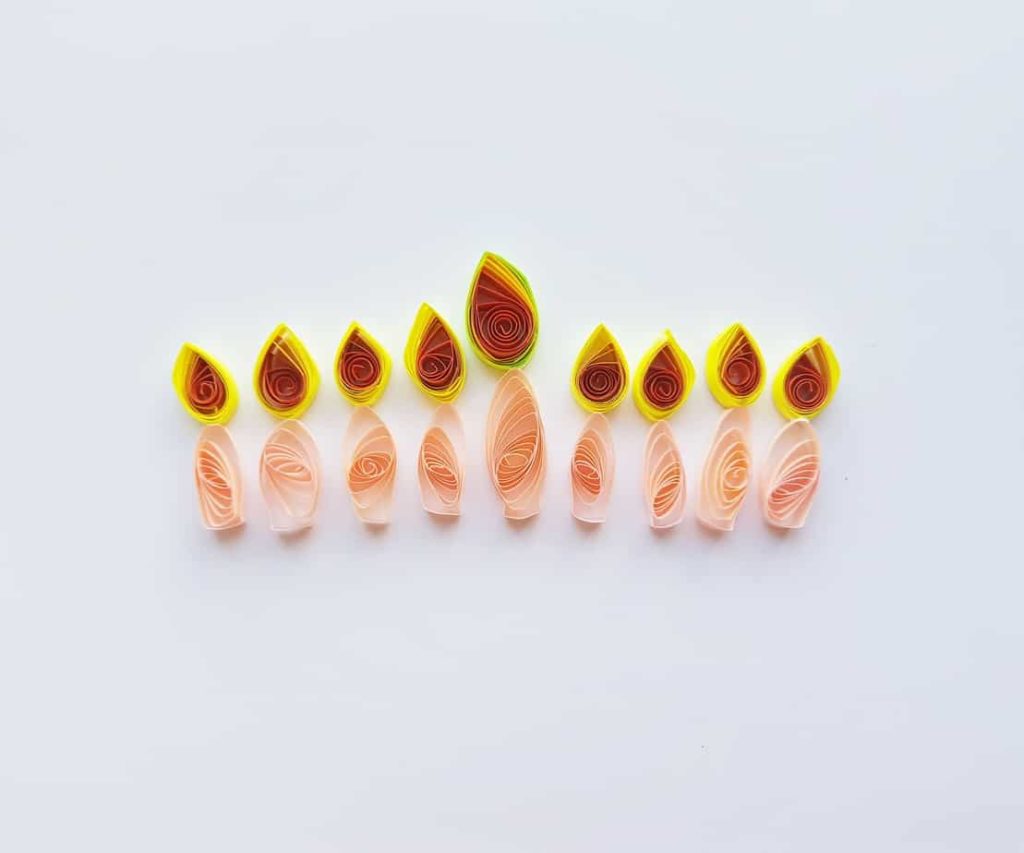
Step 7: Now that you’ve created one candle, it’s time to make 8 more flames and 8 more candles. Repeat the previous steps to do so and then attach the quilled flames onto the quilled candles.
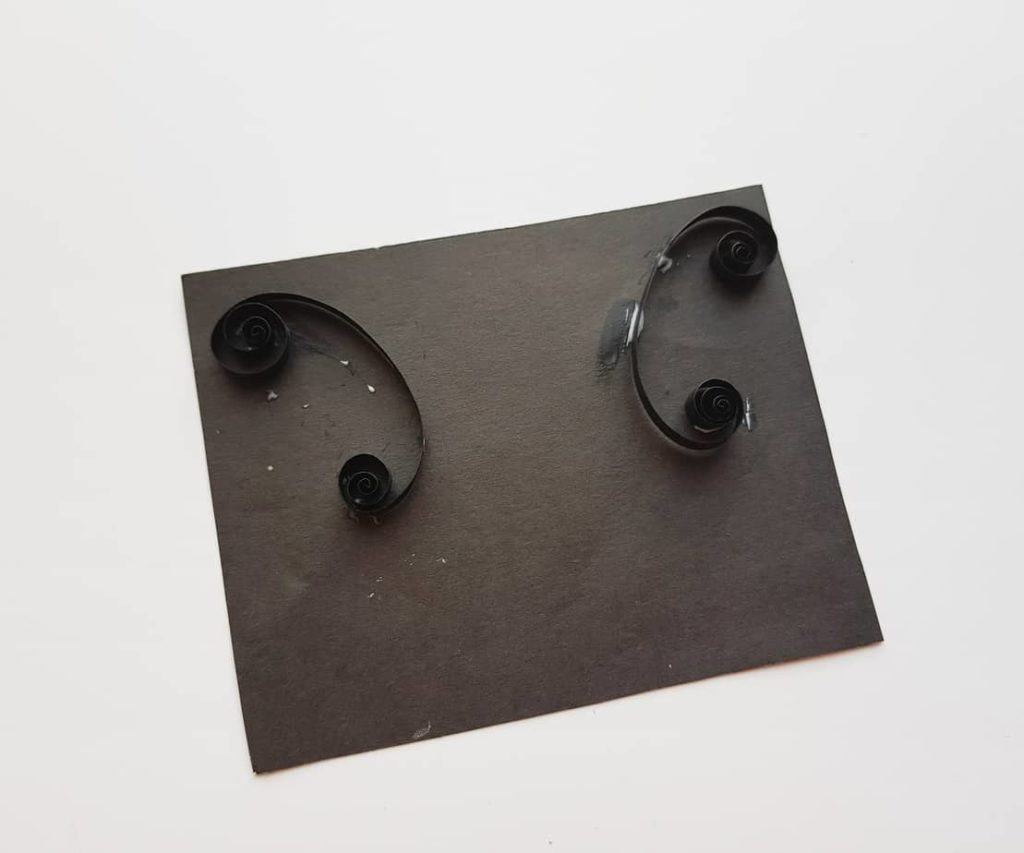
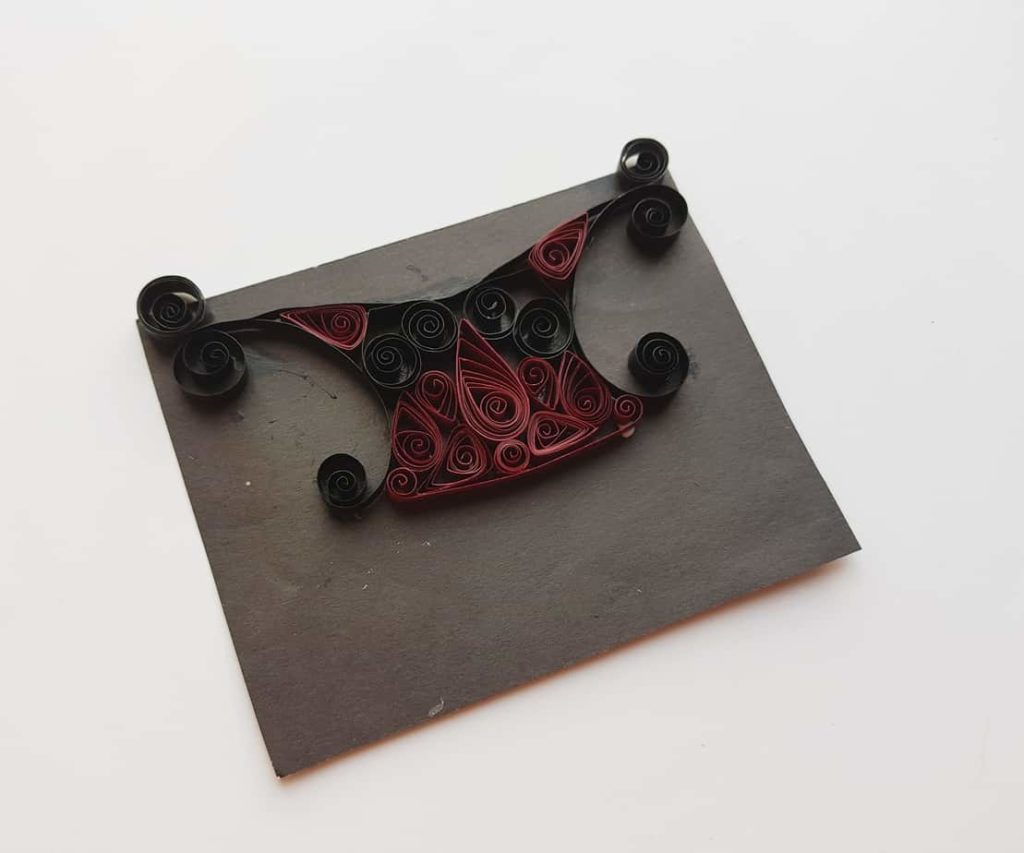
Step 8: Pick a color for the candle holder. To make the base, use two 10 cm long quilling strips in the color of your choice and coiling 3 cm from both sides of the strips. As you can see, I’ve attached the strips on the black craft paper and the gap between the coiled strips should be the width of the candle holder.
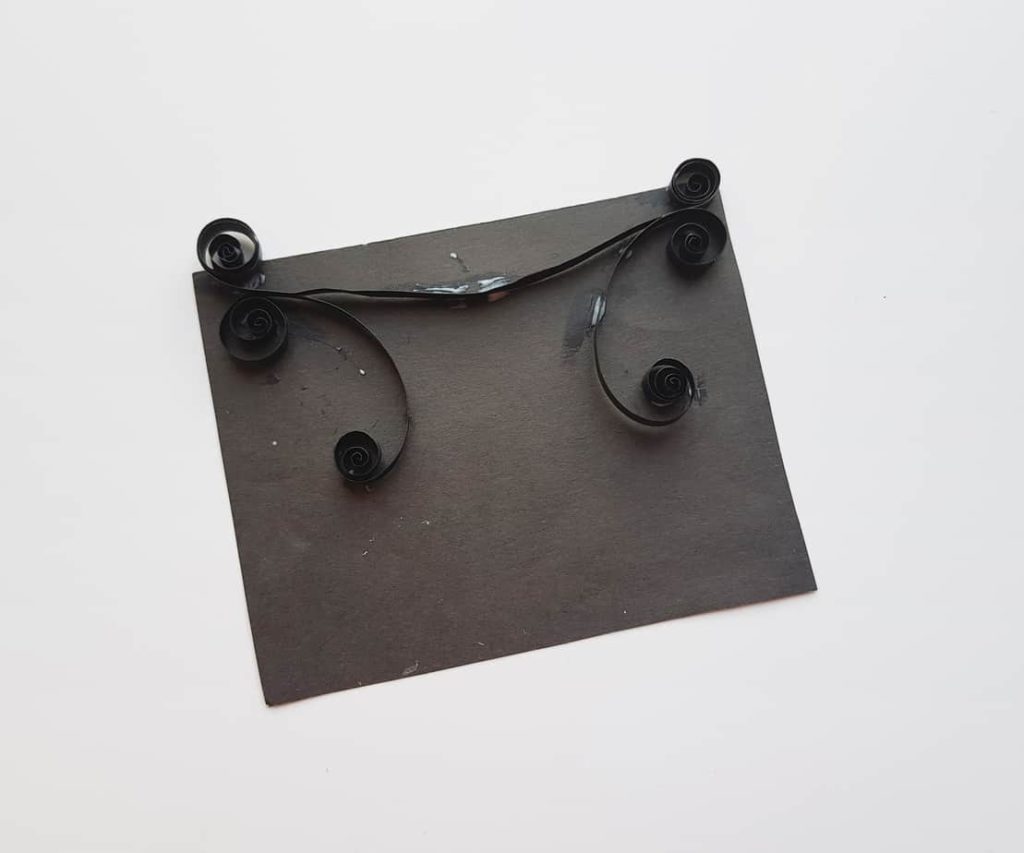
Step 9: Take another long black strip and coil its 2 open ends slightly. Put it on the top ends of the previously attached strips.
Step 10: Next, you can use random shapes to fill the inside of the pattern.
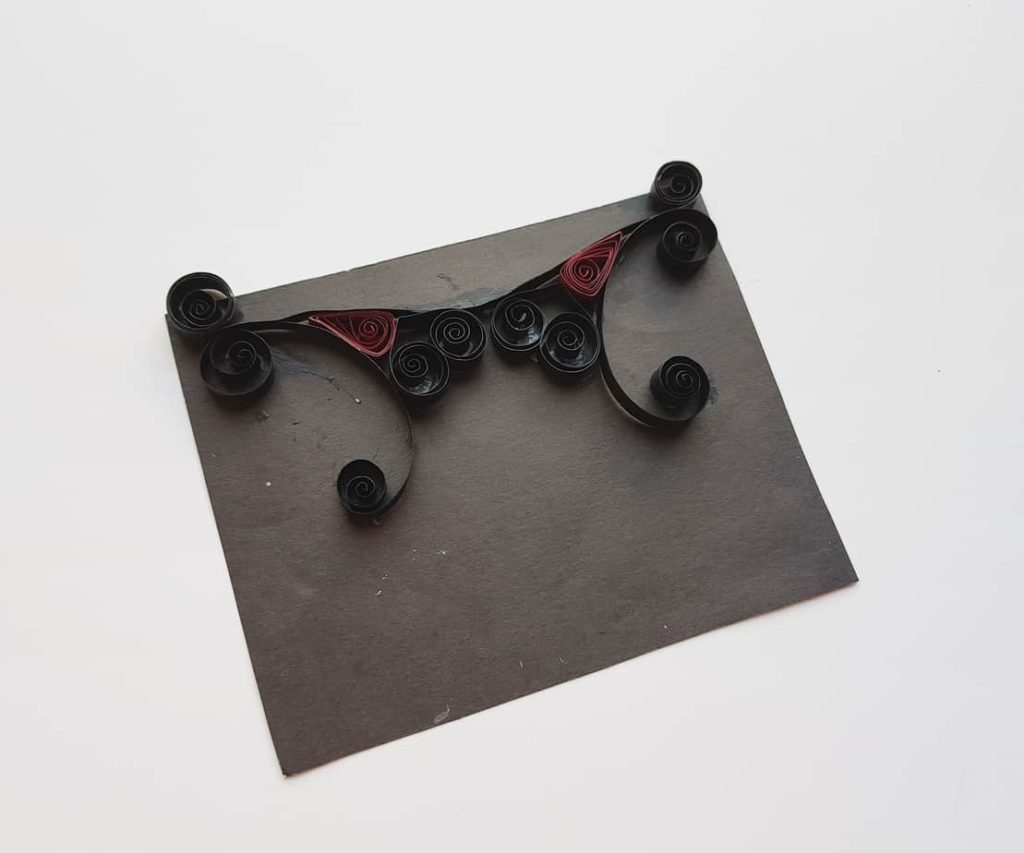
Step 11: When you’re filling the inside, make certain that you don’t cross the bottom ends of the quilled sides.
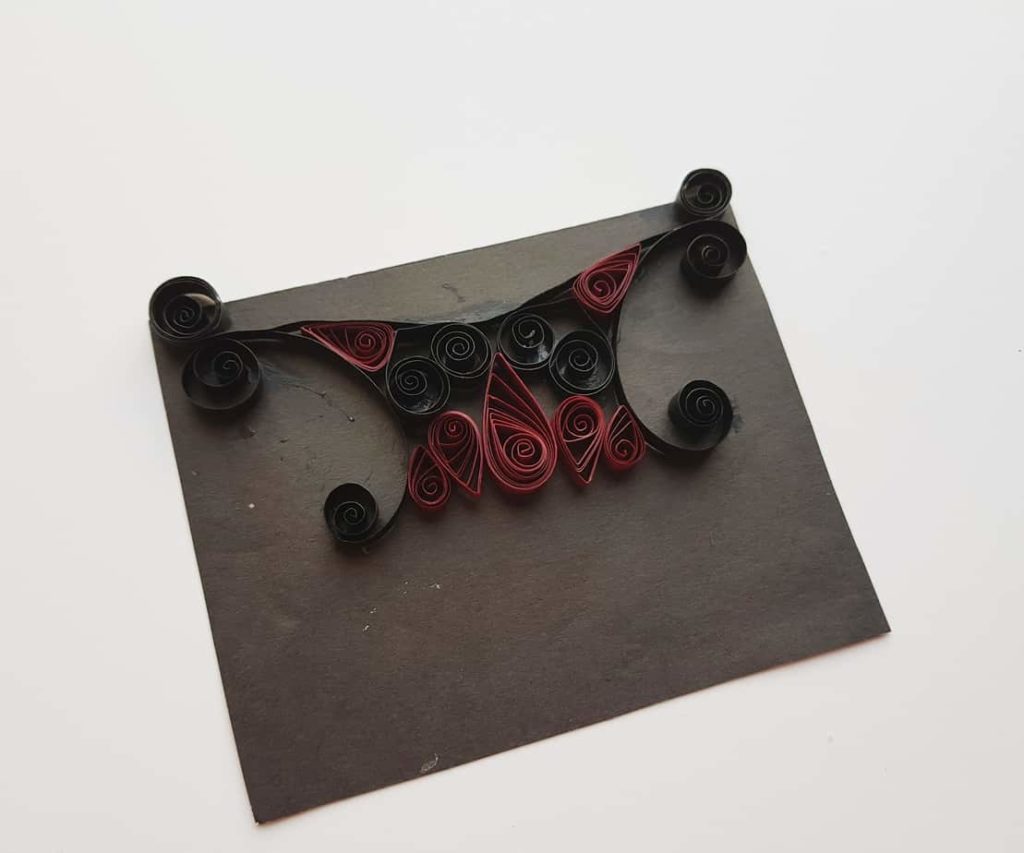
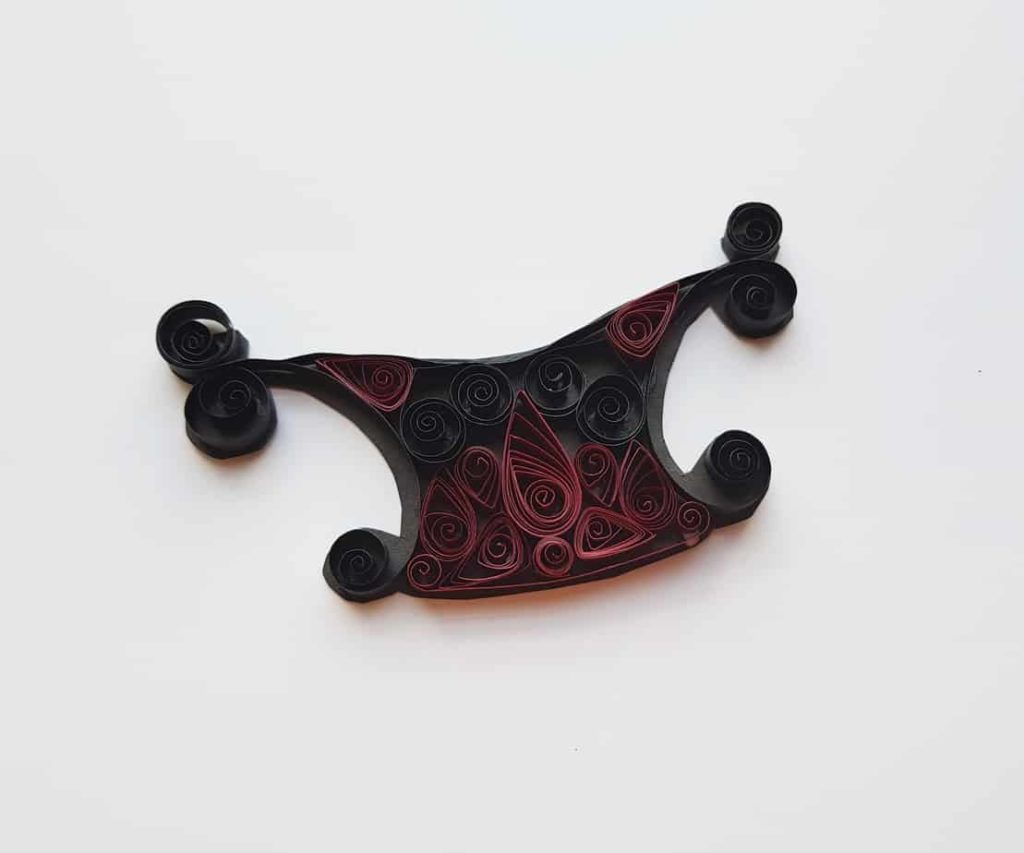
Step 12: Try your best to keep the bottom side of the candle holder straight. Make certain that you allow the glue to dry.
Step 13: Take your scissors and cut the craft paper around the edges.
Step 14: Next, take the quilled candles and attach them to the quilled candle stand.
Step 15: Attach all 9 of the candles.
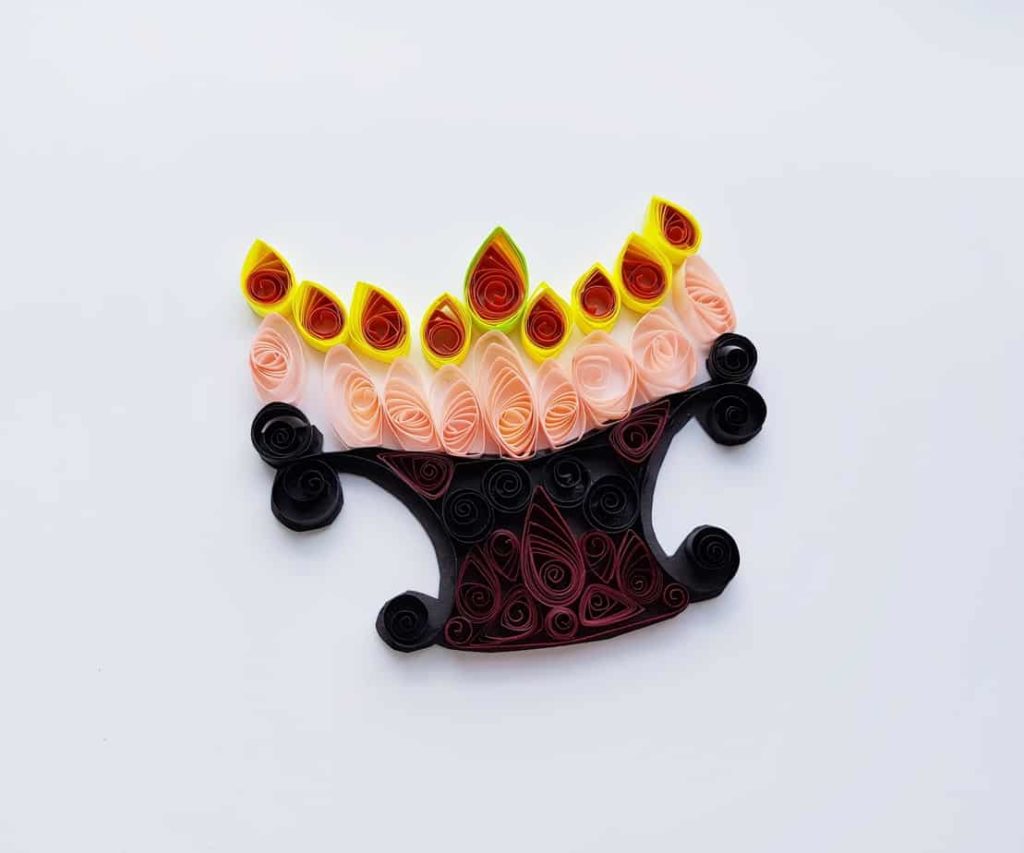
Your Quilled Hanukkah Menorah is now ready to enjoyed by you or by a friend when you give it as a gift.
Quilled Hanukkah Menorah

Create this Quilled Hanukkah Menorah for a pretty Hanukkah craft that you can display or give as a gift.
Materials
- Paper quilling strips
- Colored craft paper
- Pencil
- Scissors
- Craft glue
Tools
- Quilling Tool
Instructions
- Take the orange and yellow quilling strips and prepare them to look like flames. The small strips should be orange and the longer pieces should be yellow.
- Take an orange strip and tightly coil it to a 6 cm strip. Hold the end tightly without releasing the coil from the quilling tool.
- Next, take a 12 cm long yellow strip and coil it around the orange coiled strip tightly.
- Take the coils out of the quilling took very carefully and let them loosen up a tad bit.
- Next, press any side of the loosened coil to transform it into a teardrop shape. What you’ve just made is the quilled flame part of the craft.
- Once done, take a different colored 10 cm stip to start creating the candles. Take and create a loose coil and press it from 2 opposite sides. Then, press any one of the thin ends on a plain surface to flatten it. You’ve just created the quilled candle.
- Now that you've created one candle, it's time to make 8 more flames and 8 more candles. Repeat the previous steps to do so and then attach the quilled flames onto the quilled candles.
- Pick a color for the candle holder. To make the base, use two 10 cm long quilling strips in the color of your choice and coiling 3 cm from both sides of the strips. As you can see, I’ve attached the strips on the black craft paper and the gap between the coiled strips should be the width of the candle holder.
- Take another long black strip and coil its 2 open ends slightly. Put it on the top ends of the previously attached strips.
- Next, you can use random shapes to fill the inside of the pattern.
- When you’re filling the inside, make certain that you don’t cross the bottom ends of the quilled sides.
- Try your best to keep the bottom side of the candle holder straight. Make certain that you allow the glue to dry.
- Take your scissors and cut the craft paper around the edges.
- Next, take the quilled candles and attach them to the quilled candle stand.
- Attach all 9 of the candles.